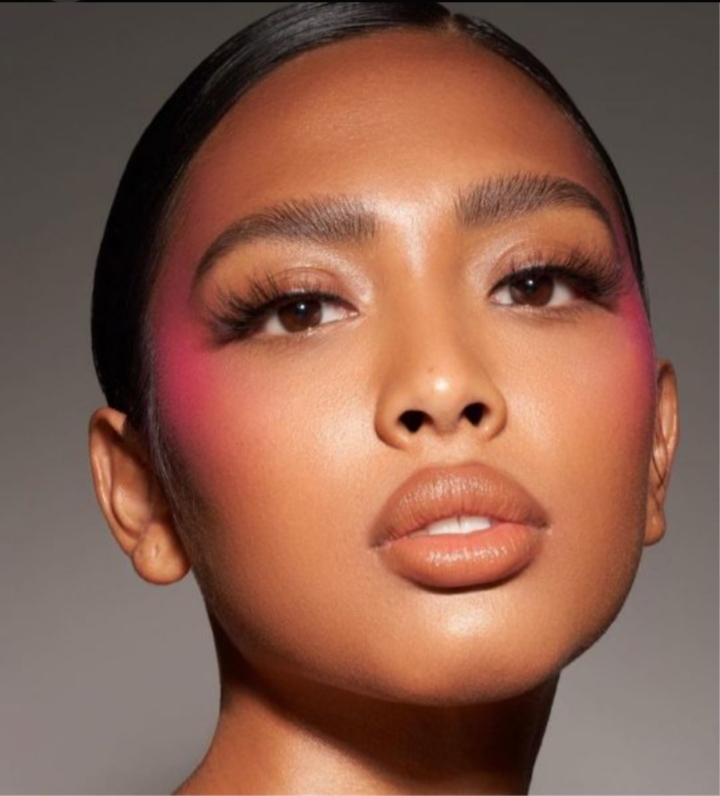
Contouring is a makeup technique that allows you to sculpt and define your face by creating the illusion of sharper angles and enhanced features. This process involves applying darker shades to add shadows and lighter shades to highlight specific areas.
What is Contouring?
Contouring uses makeup to emphasize and shape your natural bone structure. By applying darker products to areas you want to recede, and lighter products to areas you want to highlight, you can transform your face to appear more sculpted. The result? A slimmer face, more defined cheekbones, and a sharper jawline.
Step 1: Prepare Your Skin
Before you begin, it’s essential to prep your skin to ensure your makeup applies smoothly and stays in place throughout the day.
1.Cleanse and Moisturize: Wash your face to remove any impurities and apply a moisturizer to keep your skin hydrated.
2.Primer: Use a primer to create a smooth surface and to help the makeup last longer. Focus on areas where your makeup tends to fade, like the T-zone.
3.Foundation: Apply a foundation that matches your skin tone to create an even base for your contouring.
Step 2: Choose the Right Products
For the perfect contour, you’ll need the right tools and products:
1.Contouring Cream or Powder: Choose a contour product that’s 1-2 shades darker than your natural skin tone.
2.Highlighting Cream or Powder: Pick a highlighter that is 1-2 shades lighter than your skin tone and has a slightly reflective finish.
3.Blush: Select a blush that suits your skin tone to add warmth after contouring.
4.Setting Powder: A translucent powder will help lock in your makeup and prevent it from moving throughout the day.
Step 3: Map Out Your Face
To achieve the best results, it’s crucial to know where to place your contour and highlight. The exact areas may vary depending on your face shape, but these common spots are generally effective:
Contouring Areas:
- Cheeks: Apply contour under your cheekbones to define them and make them appear higher.
- Jawline: Contour along your jawline for a more defined and sharper appearance.
- Temples: Apply contour at the temples to slim the forehead.
- Nose: Optionally, contour the sides of your nose to create the illusion of a slimmer nose.
Highlighting Areas:
- Under the Eyes: Brighten the under-eye area by applying highlighter in an upside-down triangle shape.
- Cheekbones: Highlight the tops of your cheekbones to make them stand out.
- Forehead: A small dab of highlighter in the center of your forehead can add dimension.
- Nose: Apply highlighter down the bridge of your nose to make it appear more prominent.
- Cupid’s Bow: Highlighting the cupid’s bow can make your lips look fuller.
- Chin: A touch of highlighter on your chin can add a finishing glow.
Step 4: Blend Everything Together
Blending is essential to achieve a flawless, natural contour. Use soft motions to blend the contour and highlight products seamlessly into your skin.
1.Contouring Brush: Use a medium-sized angled brush for the contour. Blend in small, sweeping motions, making sure the product blends well into your skin.
2.Beauty Sponge: Use a damp beauty sponge to blend out your highlighter. Press the product into the skin by gently bouncing the sponge to achieve a natural, dewy finish.
Step 5: Set Your Makeup
Once your contour and highlight are blended to perfection, it’s time to set your makeup in place:
1.Setting Powder: Lightly dust a translucent powder over your face to set your makeup and prevent shine.
2.Setting Spray: Use a setting spray to ensure your makeup stays fresh all day long.
Step 6: Add Blush and Final Touches
After contouring, apply blush to the apples of your cheeks to bring some warmth back into your complexion. This step helps balance out the contour and highlight.
You can also add an extra touch of highlighter to areas like your cheekbones or collarbones for an additional glow.
Pro Tips for Perfect Contouring
1.Pick the Right Shades: Contour products should have a cool undertone to mimic shadows, while highlighters should complement your skin’s tone with a subtle glow.
2.Start Light: Apply contour and highlighter sparingly at first, then build up gradually. It’s easier to add more than to take away.
3.Know Your Face Shape: If you have a round face, focus contouring on the sides of your forehead and jawline. For heart-shaped faces, emphasize your cheekbones and jawline.
4.Use Natural Light: Apply your makeup in natural light to see exactly how it will look throughout the day.
Contouring like a professional requires practice, but with the right techniques, you can enhance your natural features and create a beautiful, sculpted look. By using the correct products, blending well, and paying attention to the shape of your face, you can master the art of contouring and highlight your best features. Remember to experiment, be patient, and have fun with your makeup!